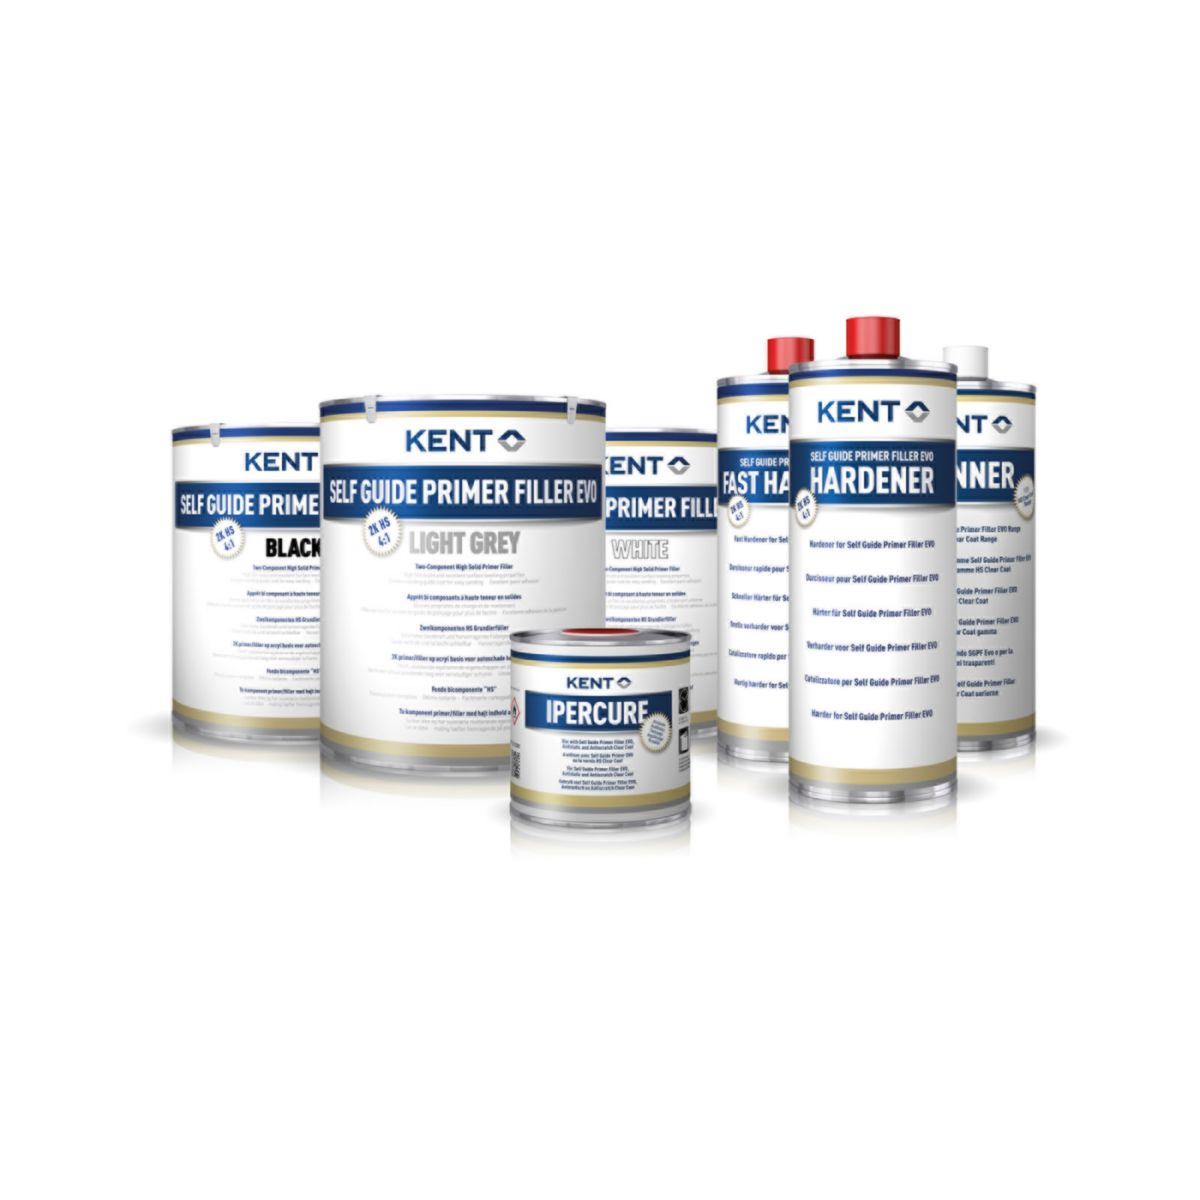
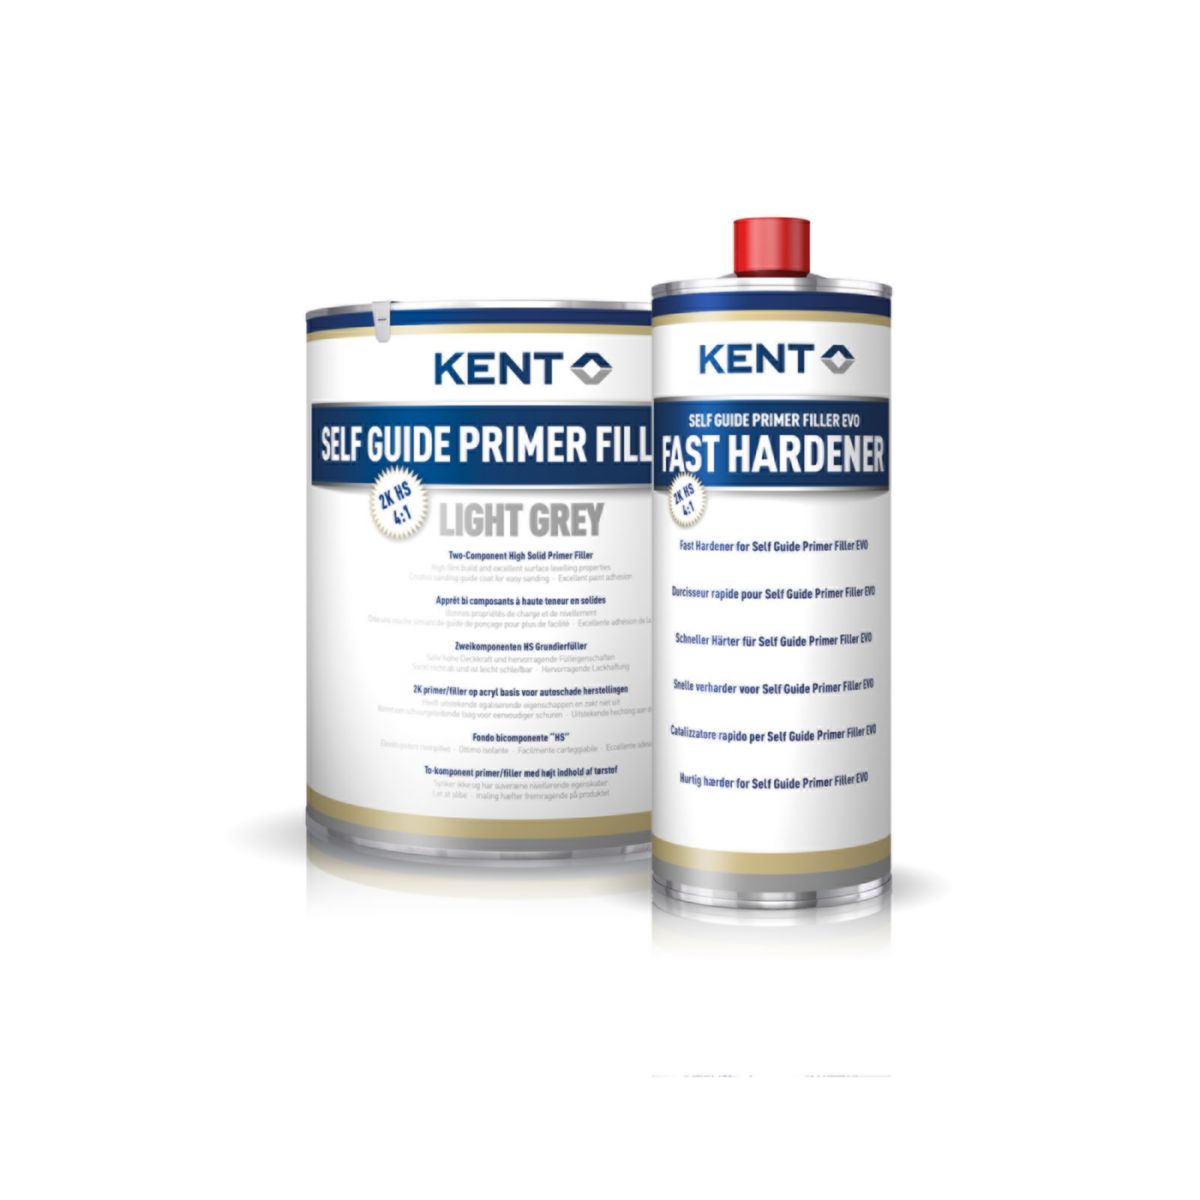
Self Guide Primer Filler Evo
Application
Self Guide Primer Filler Evo is compatible with all standard paints, solvent and water based, 1K and 2K including metallic, micalized and pearl paints.
It is very flexible and it has been formulated to give a high adhesion on fillers, fibreglass, wood, metal and on pre-primered plastics. Non-primered plastics and galvanised steel must be pre-treated with a primer.
Self Guide Primer Filler Evo is easy to sand both dry and wet with a single abrasive paper.
It has good covering properties which make it ideal for all kinds of finishing.
It has excellent leveling properties, with no sags or absorption
it does not contain chromates.
Excellent resistance to corrosion and blistering.
It has very good filling properties: with 2 - 3 coats it covers the scratch marks of P150 / P180 paper, even if thinned at 10%.
It can be added to a solvent base by up to 10% and used as an undercoat with special colours.
Instructions
To avoid condensation, be sure the surfaces to be treated are at room temperature (at least 18°/20°C) and not damp.
High humidity conditions may cause loss of adhesion after few weeks with the eventual appearance of large blisters.
It is not sufficient to wipe off condensation with a cloth but you have to wait that the whole surface reaches room temperature (about 2 hours – depending on type and size of surface).
By sanding, remove the black protective film on new plates.
1. Before applying SGPF EVO, carefully clean and degrease the surface removing any trace of dirt and rust.
2. Thoroughly clean using Acrysol or Panel Degreaser to eliminate any wax and silicone polishing materials, grease, dirt, fingerprints.
3. To ensure a complete adhesion, sand carefully the surrounding area of the part to be treated using only one kind of abrasive paper: P240/P320.
2 or 3 layers of filler are able to cover as well the signs of a P150/P180 paper..
4. Apply a first light coat of the primer/filler 4:1 in volume (6:1 in weight) on the whole area to be repaired, which can be thinned up to 25% with an acrylic thinner, using a standard primer filler gun with a 1.8-2.0 nozzle and using a pressure of 2.5-4.0 bars and a fanlike spray, not too open.
If required, add Ipercure accelerator, at maximum concentration of 4%.
5. Wait for the proper flash off time before applying the next coat.
6. Never apply coats too thick to avoid blistering, cracking, sags or slow drying
7. In case of high temperatures, ensure the product arrives wet (glossy) on the surface.
8. After application of the required number of coats, verify they are completely dried before starting to sand. Time depends upon thickness: about 4 hours at 20°C and 30 minutes at 60 °C.
9. To speed up drying and to ensure dry through (when applying several / thicker layers) use I.R. lamps. Always wait few minutes before turning lamp on in order to allow a proper flashing off of solvent and to avoid causing it to boil creating unpleasant blistering effects. Follow the lamp manufacturers instructions which should give safe distances and periods of drying dependent on power.
10. Sanding:
Possible black holes after sanding indicate defects onto the surface to be painted (stones, holes, etc… ): they should be removed before starting painting.
Can be over painted with all water or solvent bases.
Note = Pot life of hardened product is about 1 hour at 20 °C.