
DS Sponges
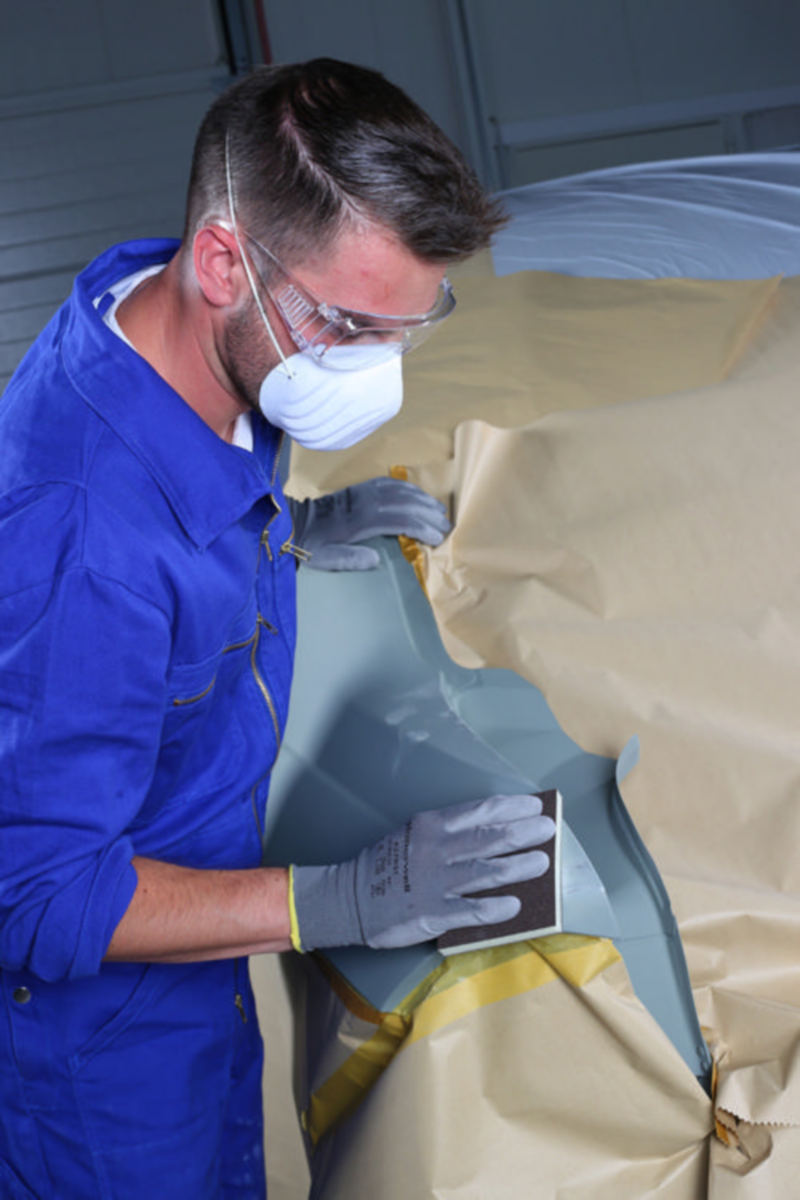
DS Sponges have been developed for manual sanding and matting of edges and contours of panels, not normally possible by machine sanding. Easy to use on profiled surfaces without risk of peeling edges, they create an excellent substrate refinish.


Features & Benefits
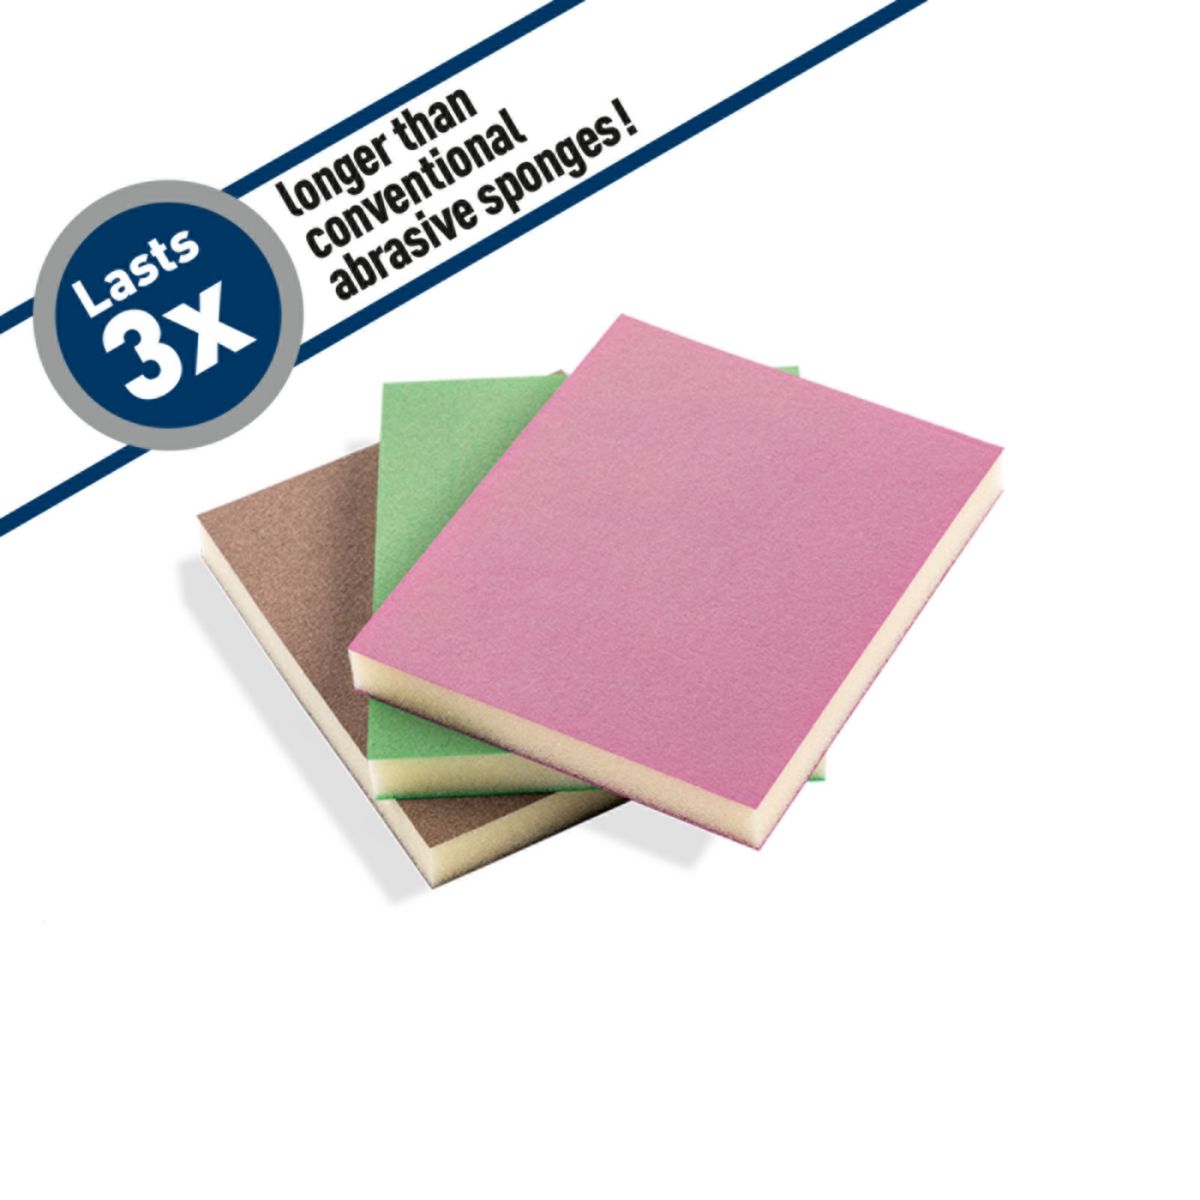
- Lasts 3x longer than conventional abrasive sponges - saves money and reduces wastage
- 3 versions available - choice for each fine sanding job
- Will not clog or gum on 2 sanding sides - offers the maximum performance to the user
- Does not mark - ensures good finish for next working step
- Flexible sponge pad - follows the substrate irregularities and body contours
- Versatile - can be used wet or dry, best results obtained when used dry
Application
Double Sided sponges composed of Aluminium Oxide-Silicon Carbide on both sides with a highly flexible sponge backing.
They are excellent for manual sanding as the thick foam structure absorbs the hand pressure to prevent marks and deep scratches left by plain abrasives with denser backings
DS Sponge FINE — BROWN Aluminum Oxide-Silicon Carbide P320/500*
Recommended for sanding:
• Electrophoresis and old lacquer layers.
• Refinish sanding before primer filler spraying
DS Sponge SUPER FINE — GREEN Aluminium Oxide-Silicon Carbide P600/1000*
Recommended for sanding:
• Electrophoresis and old lacquer layers.
• Filler sanding before basecoat spraying
DS Sponge MICRO FINE — PURPLE Aluminium Oxide-Silicon Carbide P1000/1500*
Recommended for sanding:
• Preparation of lacquered surfaces.
• Clear-coat fading.
* P grit are approximate roughness refinish references.
The final refinish result depends on the applied sanding pressure
Instructions
1. Select the required DS Sponge to suit the task.
2. Apply the DS Sponge to the surface and start working.
3. When the used side of the DS Sponge has reached the end of its life, turns the sponge and start using the second side.
4. When the DS Sponge has reached the end of its life replace with a new one.
