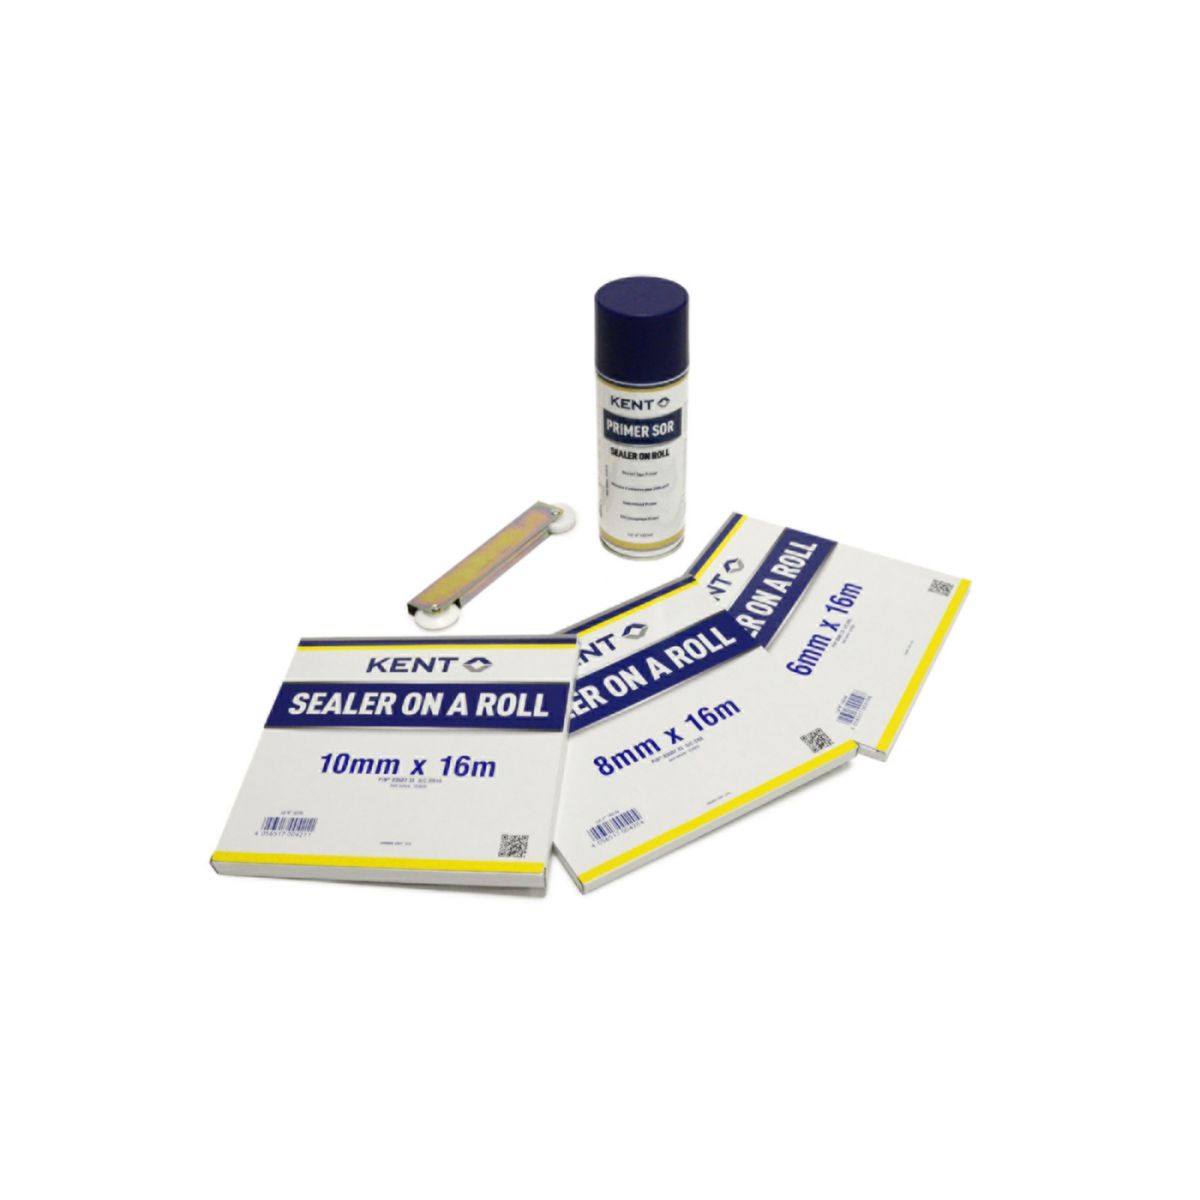
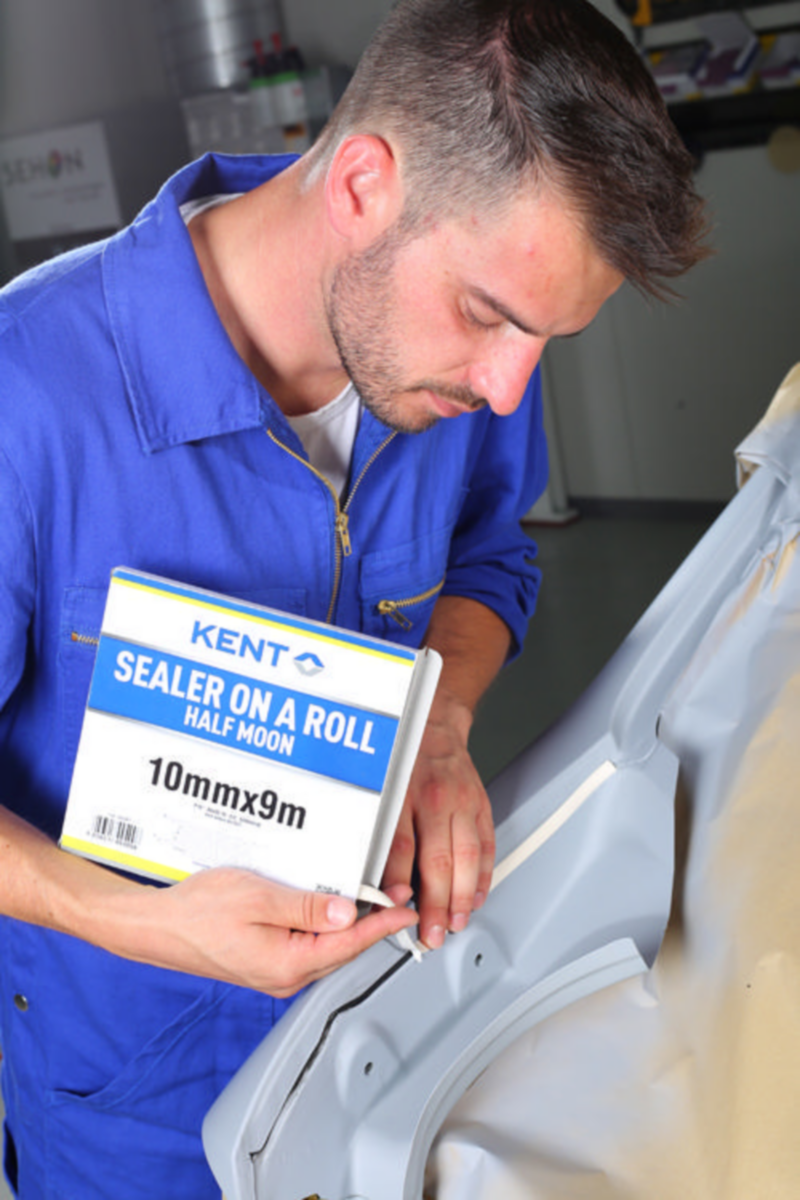
Sealer on a Roll
Self-adhesive rubber based sealer tape that enable you to fasten up the sealing process up to 80% - reduce labour costs while increase productivity and makes the process safer.

Features & Benefits
- Seam Sealer on a Roll - Effective and easy to use compared to extrudable seam sealants
- Immediate paint over - Time saving
- Different shapes and width available - Used by many vehicle manufacturers on numerous vehicles
- Flexible tape - Also applicable around corner
Articles
| Attributes | Article | Downloads | |
|---|---|---|---|
| Flat / 6mm x 16 m White | 83681 | TDS | |
| Flat / 8mm x 16 m White | 83682 | TDS | |
| Flat / 10mm x 16 m White | 83683 | TDS | |
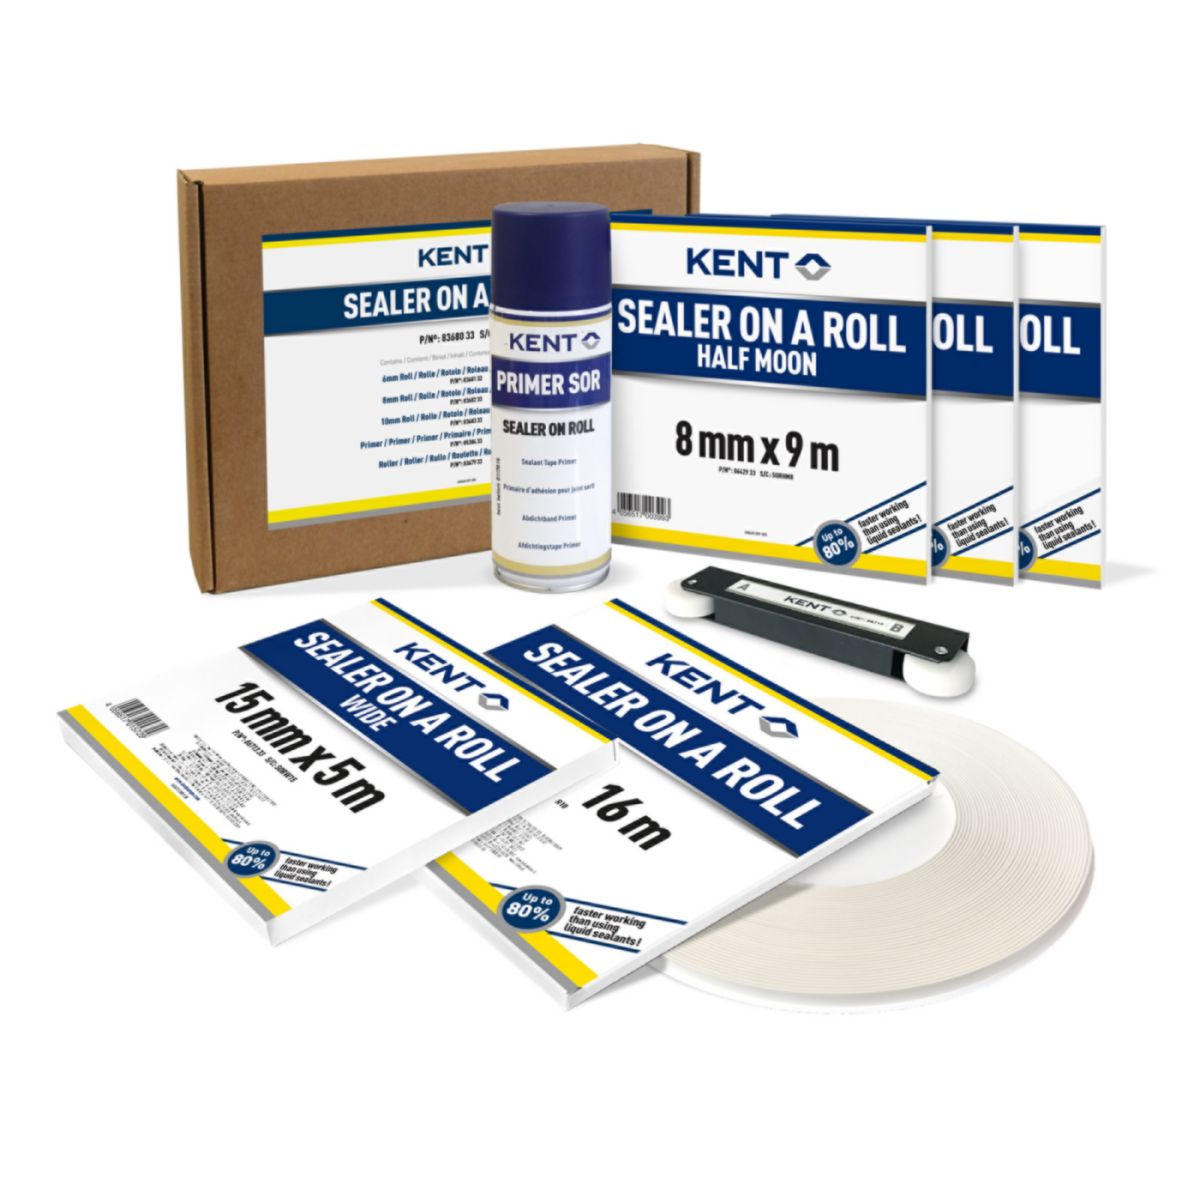
| Half-moon / 8mm x 9 m White | 86429 | SDS TDS | |
| Half-moon / 10mm x 9 m White | 86430 | SDS TDS | |
| Wide / 12mm x 5 m White | 86712 | TDS | |
| Wide / 15mm x 5 m White | 86713 | TDS | |
| Half-moon / 12mm x 5 m White | 86711 | TDS | |
| Flat / 20mm x 5 m White | 86710 | TDS | |
Application
Sealer on a roll is a tape designed to quickly and effectively recreate the OEM finish on doors, bonnets, boot lids and wheel arches.
Double profile tapes are available in 6, 8 and 10mm, half-moon tapes in 3, 6, 8 and 10mm sizes.
The contoured profile perfectly replicates the finish on your most makes of car – easy to use, little skill required, immediate paint over.
Just spray on the primer, apply the tape and it’s ready to paint immediately!
Sealing tape (10mm) can be applied to the inner side of the panels, where metallic surfaces/ plates are joined together, and the damaged portion can be restored to the original state.
Instructions
1. Scuff the surface of the panel with surface conditioning pads to remove any excess seal material from the seamed part of the surface.
2. Use a blow gun to remove the dust and wipe off the surface with cleaning material or solvent. Surface should be clean and dry before spraying the primer.
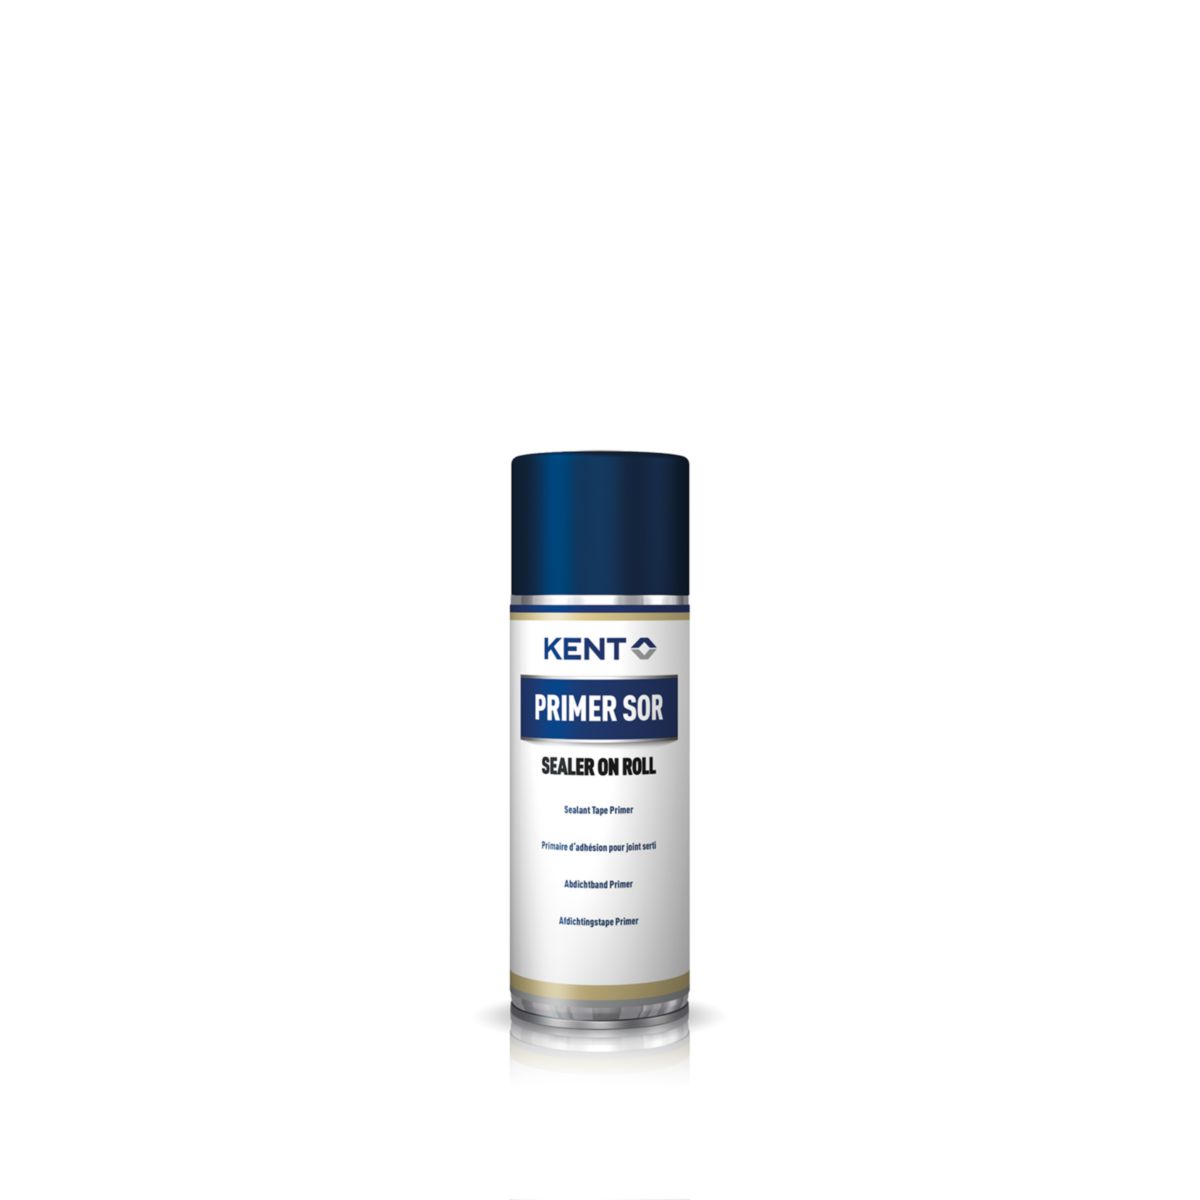
3. Apply the sealing tape primer in two light coats evenly according to the directions until the surface appears glossy and allow to dry. It is essential to use the specific sealing tape primer to ensure secure bonding of the tape to the panel as well as to prevent rust.
4. Air dry for approximately 5-15 minutes at 20ºC. Wait until the primer has dried and the surface is no longer sticky.
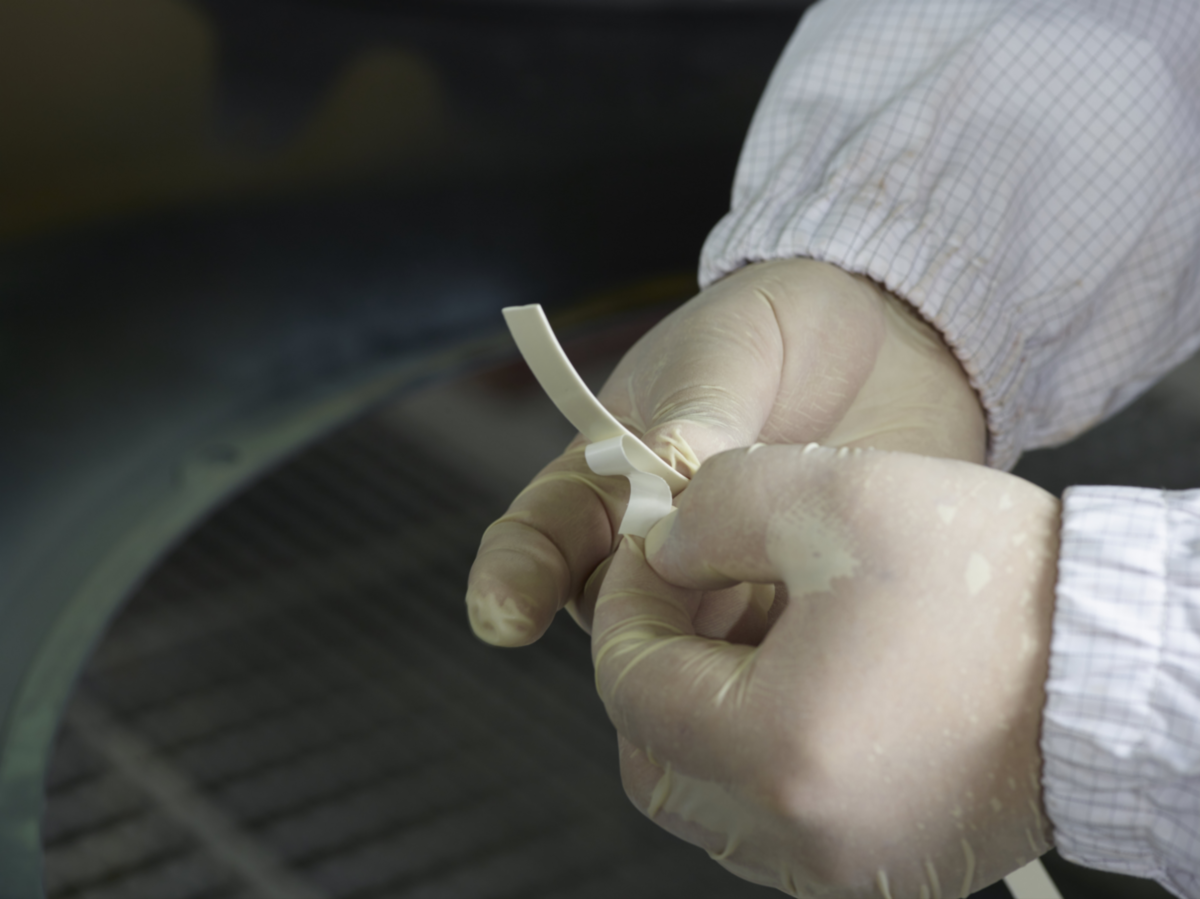
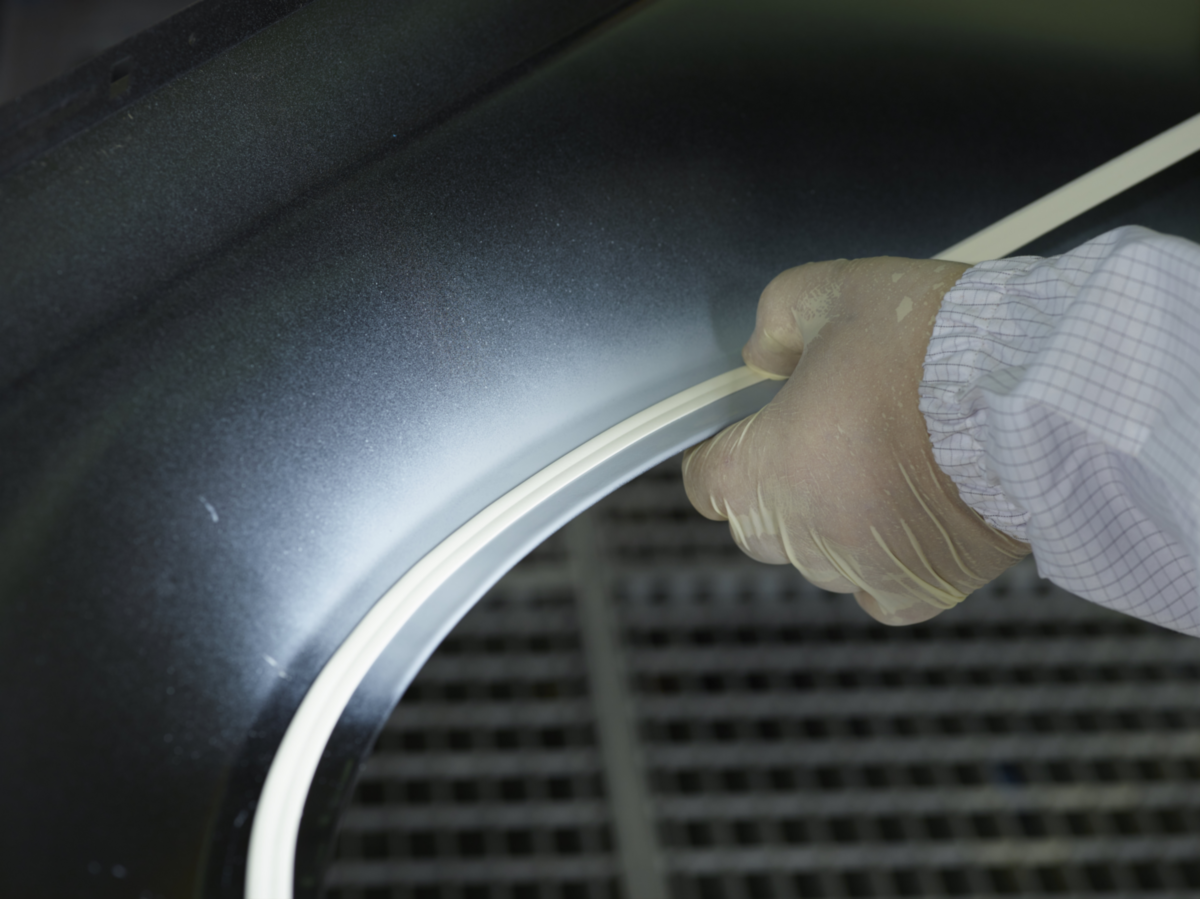
5. Start at a corner and apply the tape in one direction. Peel off the film and, using your finger apply pressure at the beginning of the tape. Remove the film gradually as when the adhesive is dirty, it will lose contact with the panel. Never pull or stretch the tape. Work at a temperature of approximately 10ºC to 20ºC. The tape may lose its adhesive properties at lower temperatures. Warming the tape can improve contact. Ensure firm contact of the tape on the panel at the end of the tape as it can easily lift at the end. Leave a piece of the corner open to apply putty. Cut the tape with a pair of scissors.
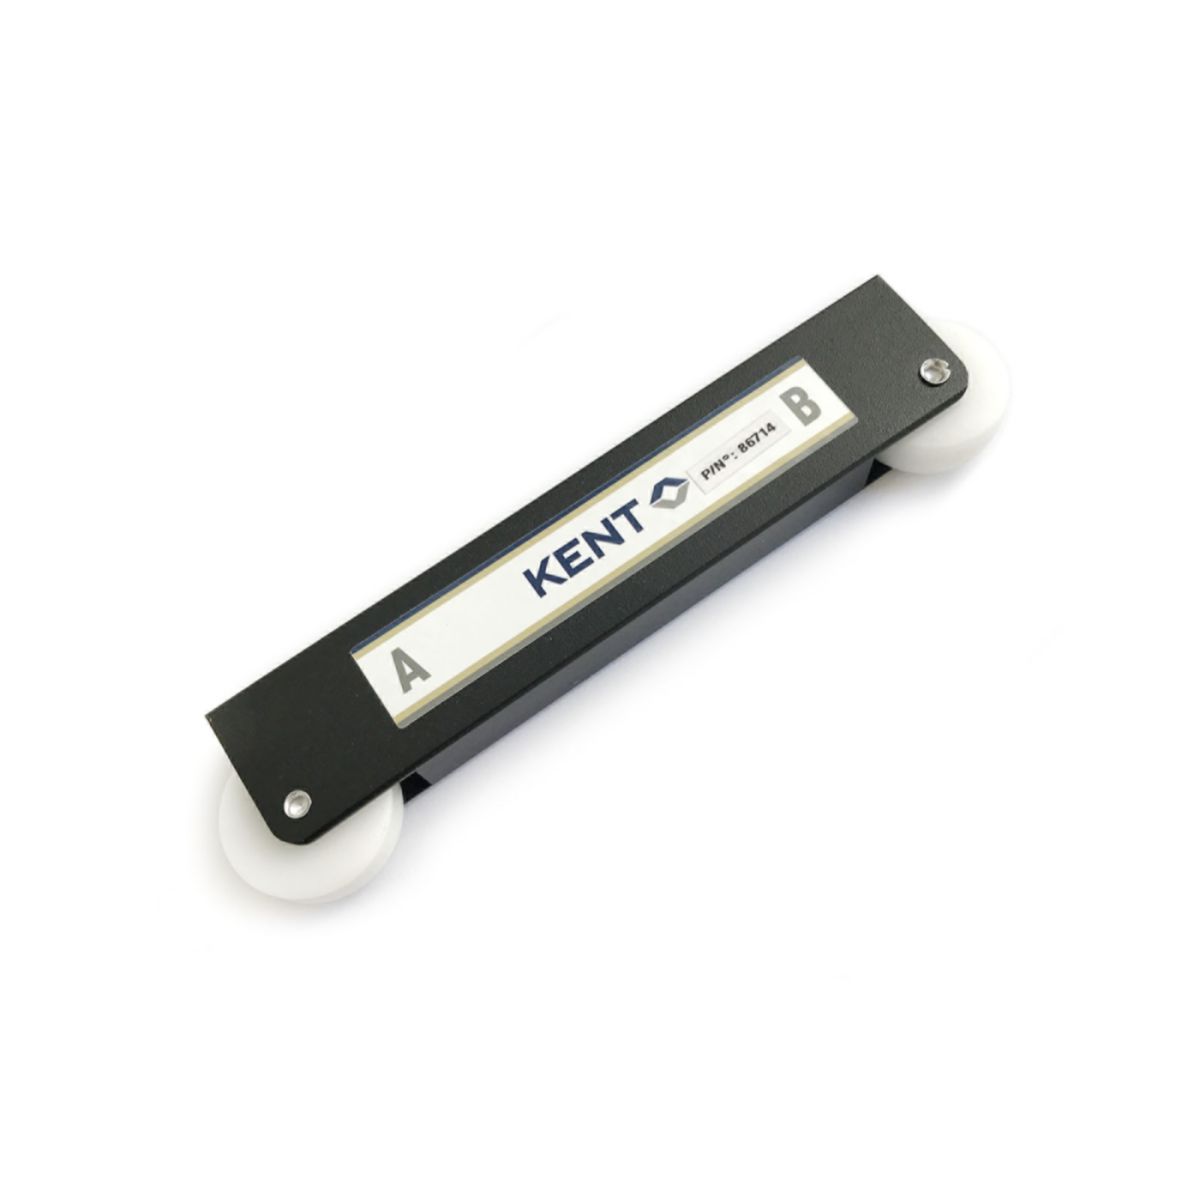
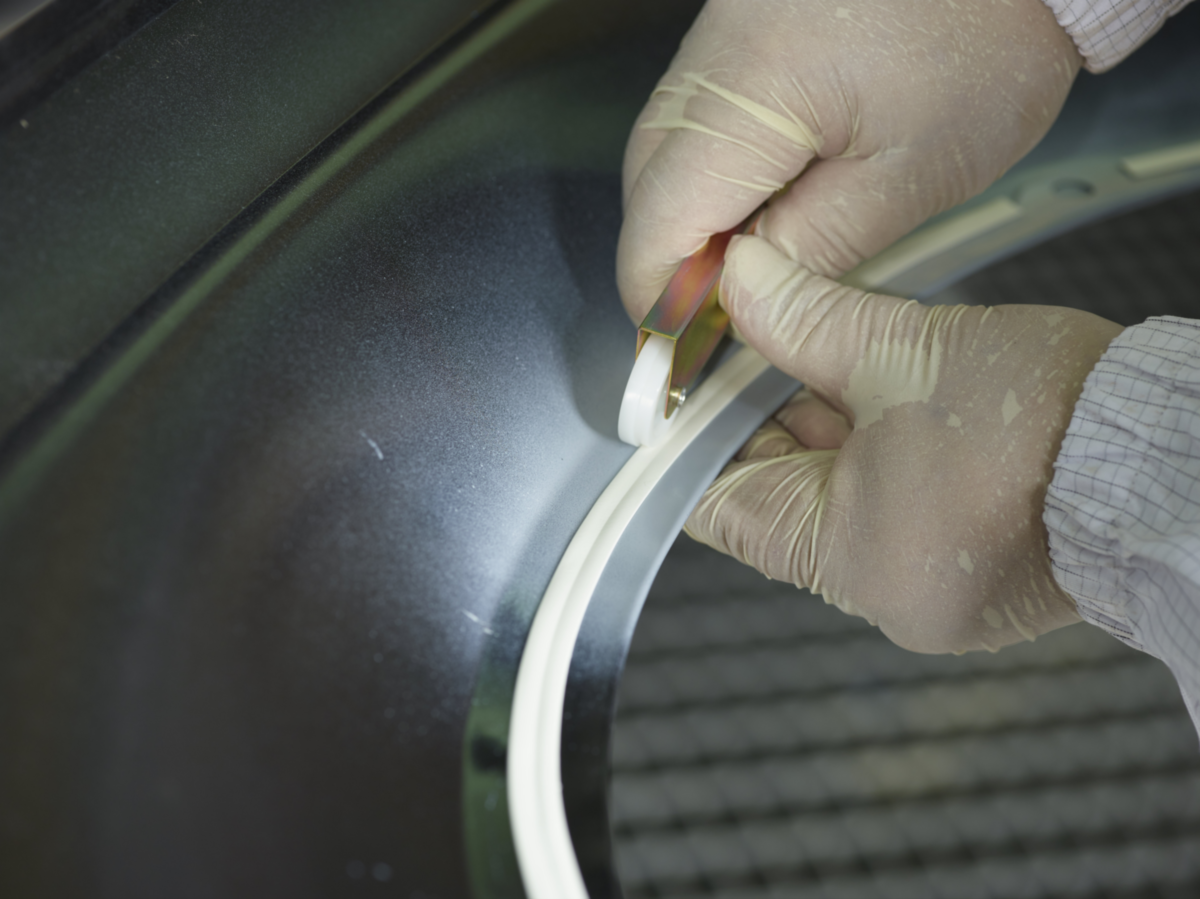
6. Carefully check the tape for proper contact, especially at the ends. Use the roller to pressurize the tape. Move the roller in the opposite direction to how you applied the tape. Use light pressure to remove air from the tape and then repeat using more pressure to ensure firm contact between the tape and the panel.
7. Inspect both ends of the tape. Wipe off any dirt on the tape.
8. Use putty according the specified directions on corners, joints, drains and spot welds.
9. Carefully check the tape for lifting, separation, gaps between tape and panel.
10. Paint.
11. Dry the panel. Do not use temperatures exceeding 70ºC if using infra-red heaters to dry. Leave at air temperature for 15 minutes before using the heater.